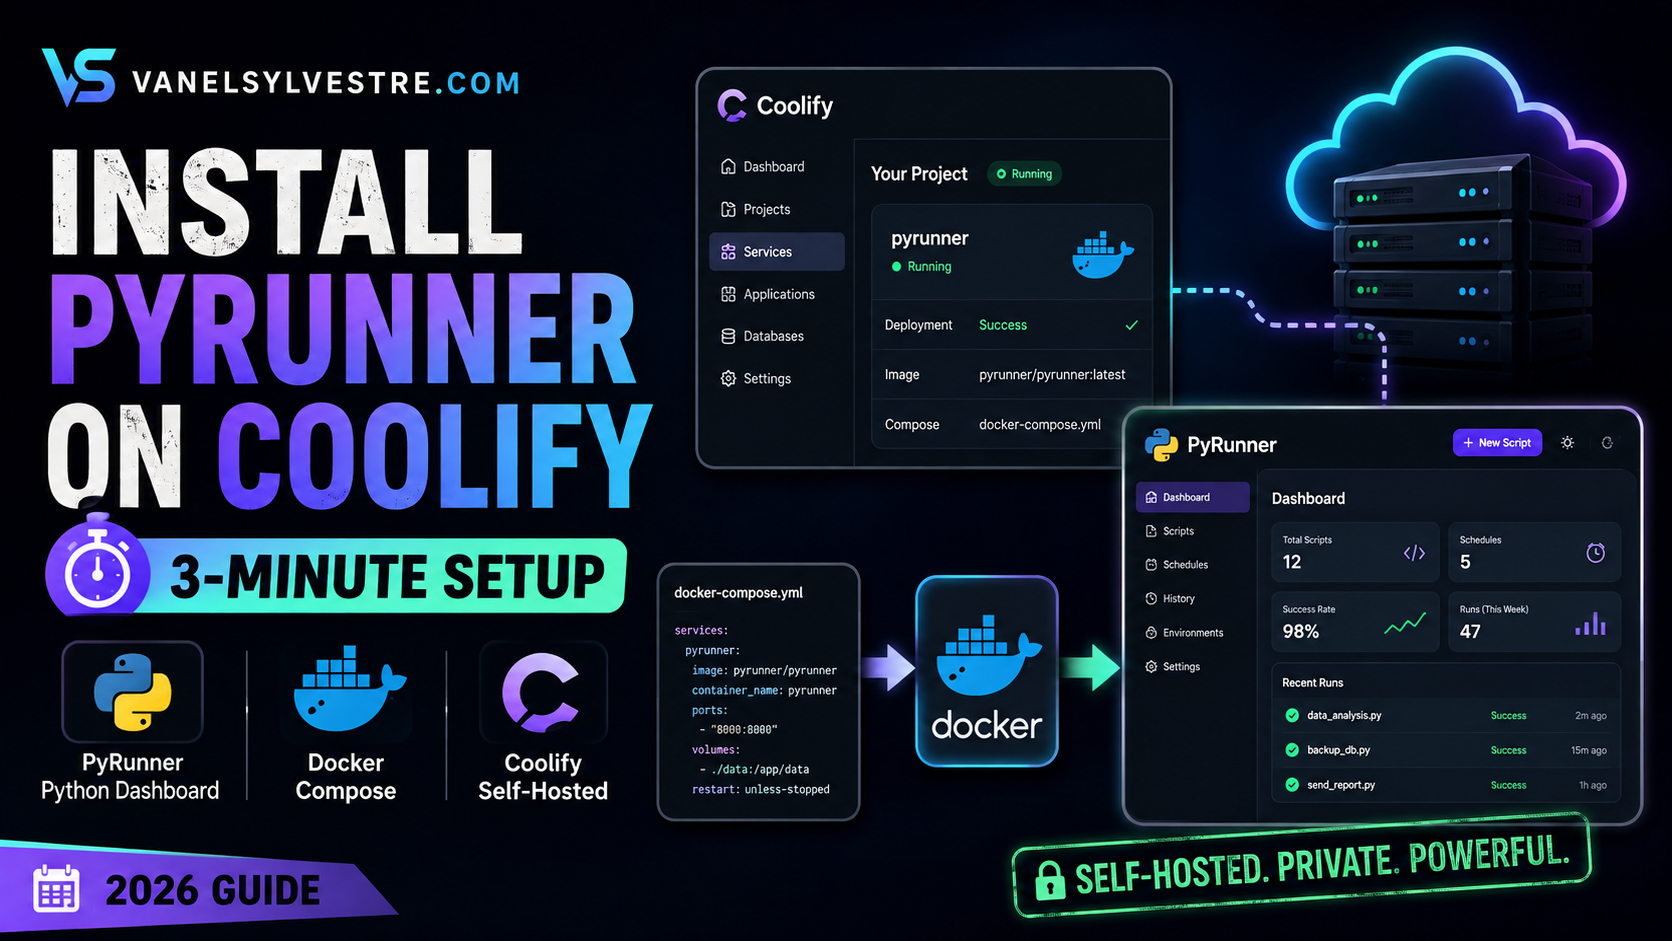
How to Install PyRunner on Coolify (3-Minute Setup)
You can deploy PyRunner on Coolify with a public Git repository, its Coolify-ready Docker Compose file, three environment variables, and a domain. Once the deployment is healthy, Coolify routes traffic to the app and can handle HTTPS for the domain while PyRunner keeps its data in persistent storage.
- A self-hosted PyRunner dashboard on your own server
- A custom domain or a temporary generated Coolify domain
- Persistent application data across redeploys
- A simple path to pull and deploy newer PyRunner versions
What you are building
The request path is simple: visitors reach your domain, Coolify terminates HTTPS and proxies the request to PyRunner, and PyRunner writes persistent data to its mounted volume.
PyRunner is a self-hosted interface for creating, running, and scheduling Python scripts from a browser. It is useful when you want automation without handing every script to a third-party SaaS platform. The official PyRunner documentation also provides a direct Docker installation, but this guide focuses on Coolify because it makes deployment, domains, logs, restarts, and ongoing maintenance easier to manage from one panel.
Before you install PyRunner on Coolify
Prepare the server and DNS first. That removes nearly every avoidable problem later in the deployment.
You need a working Coolify server and permission to create a project resource.
1 GB can be enough for a small setup, while 2 GB or more gives the host more room for the proxy and other services.
Point an A record at the server IP, or use the temporary domain generator available in Coolify.
Step 1: Generate the two PyRunner secret keys
PyRunner expects two security-sensitive values before it starts. The first is the Django application secret used by the web framework. The second is an encryption key used to protect sensitive values stored inside PyRunner.
Step 2: Create a Public Repository resource in Coolify
Open your Coolify dashboard, enter the project where you want PyRunner to live, and choose the option to create a resource from a public Git repository.
https://github.com/hassancs91/PyRunnermainDocker Compose/docker-compose.coolify.ymlThe Coolify-specific Compose file is the reason this deployment is so short. Instead of manually wiring every container setting, Coolify reads the service definition from the repository and creates the application according to that configuration.
Step 3: Add the environment variables
After Coolify reads the project, open the Environment Variables section. You may see Coolify-created service variables already present. Do not delete the service FQDN variable that Coolify generates for the PyRunner service.
| Variable | Value | Purpose |
|---|---|---|
SECRET_KEY | Your generated Django key | Application/session security |
ENCRYPTION_KEY | Your generated encryption key | Protects stored secrets |
ALLOWED_HOSTS | localhost,127.0.0.1,pyrunner.example.com | Allows requests for your domain |
If your Coolify interface lets you paste environment variables in a raw developer-style editor, the block looks like this:
SECRET_KEY=your-generated-secret-key
ENCRYPTION_KEY=your-generated-encryption-key
ALLOWED_HOSTS=localhost,127.0.0.1,pyrunner.example.compyrunner.example.com with the hostname you will really use. Mark the two secret keys as secret/masked variables in Coolify if that option is available.Step 4: Connect your domain
Return to the main configuration screen and find the domain field for the PyRunner service. Enter the full URL you want to use, such as https://pyrunner.example.com, then save the configuration.
With DNS already pointing to the Coolify server, Coolify can route the hostname to the right service. If you do not have a final domain yet, use Coolify’s generated-domain option for testing and switch to your own hostname later.
Step 5: Deploy PyRunner
Click Deploy or Redeploy and watch the deployment logs. The first launch has more work to do than later restarts because the image must be pulled and the application has to initialize its data.
If the logs say that SECRET_KEY or ENCRYPTION_KEY is required, return to the environment variable section and verify that the variable exists, contains a value, and is available to the production deployment.
Total Scripts
Active Scripts
Queue Size
Finish the first login
Open the public PyRunner URL after the health check is green. Complete the first-run account setup for the administrator. Once you reach the dashboard, create a small test script before moving any important automation to the server.
print("PyRunner is working")Run that script manually. A clean result confirms that the web UI, execution worker, and storage path are functioning well enough for you to continue with schedules, secrets, and packages.
Email setup: do this before inviting other users
PyRunner supports email-based login flows for users beyond the initial administrator. That means you should configure outbound email before you depend on invitations or magic-link sign-ins.
- Open Settings → Email inside PyRunner.
- Choose a transactional email provider or standard SMTP configuration.
- Add the sender address and credentials required by your provider.
- Send a test message and verify delivery before inviting users.
Resend is one option for API-based transactional email. Traditional SMTP providers such as Mailgun, SendGrid, and Postmark can also be used when you prefer SMTP credentials.
Building a larger self-hosted stack?
Use PyRunner as one service in your stack, then add backups, monitoring, databases, automation tools, and other apps through Coolify as your needs grow.
Explore More TutorialsCommon PyRunner + Coolify problems
| Problem | Likely cause | What to check |
|---|---|---|
DisallowedHost | Your hostname is missing from Django’s allowed host list. | Add the exact hostname to ALLOWED_HOSTS, save, and redeploy. |
| 502 / proxy error just after deployment | The container may still be starting or migrations may still be running. | Read the deployment logs first. If the app is still initializing, give it a short moment before changing configuration. |
| Coolify says no server is available | The container/proxy route is not healthy. | Confirm the app container is running, the domain is attached to the correct service, and the Coolify proxy is healthy. |
Restart loop mentioning SECRET_KEY | The variable is missing, blank, or not available to production. | Re-enter the key and redeploy. |
Restart loop mentioning ENCRYPTION_KEY | The encryption variable is missing or blank. | Add the saved encryption key and redeploy. |
| Login email never arrives | Outbound email has not been configured correctly. | Configure Resend or SMTP and send a test from the PyRunner email settings. |
How to update PyRunner later
When a new PyRunner image or repository version is available, open the resource in Coolify and redeploy while pulling the latest image/build. Persistent storage is what keeps application data separate from the disposable container lifecycle.
Alternative: deploy the Docker image directly
If you do not want to use the public-repository Compose path, PyRunner’s documentation also describes a Docker Image deployment in Coolify. The core image is:
hasanaboulhasan/pyrunner:latestFor that method, expose port 8000, add persistent storage at /app/data, and provide the host/environment configuration required by your setup. The repository + Coolify Compose method is usually quicker because more of the wiring is already defined.
What to do after installation
Confirm manual execution works before scheduling production jobs.
Use PyRunner’s secret storage instead of hard-coding API keys into scripts.
Start with low-risk recurring jobs and review execution logs.
Back up the persistent application data to storage outside the server.
FAQ
Is PyRunner free to self-host?
PyRunner is presented by its project as an open-source, self-hosted tool. Your main cost is the server and any external services you choose to connect.
What port does PyRunner use?
The documented container setup exposes PyRunner on port 8000. In a Coolify deployment, the reverse proxy can publish the app through your HTTPS domain while the service remains on its internal port.
Do I need a domain before I deploy?
No. You can test with a generated domain in Coolify and connect a custom domain later. For a production setup, a stable custom domain is easier to manage.
Will my scripts disappear when I redeploy?
They should live in persistent application storage rather than only inside the disposable container. Still, keep external backups because a volume can also be deleted or corrupted.
Can I use PyRunner without Coolify?
Yes. The project documentation includes a standard Docker command, so Coolify is a convenience layer rather than a hard requirement.
Final checklist
- PyRunner repository added to the correct Coolify project
- Build pack set to Docker Compose
/docker-compose.coolify.ymlselectedSECRET_KEYsavedENCRYPTION_KEYsaved in a password managerALLOWED_HOSTScontains your real hostname- Domain points to the Coolify server
- Deployment health check is green
- First admin account created
- Email delivery tested if other users will log in
- Backups planned before important scripts are stored
Editorial note: Product names and trademarks belong to their respective owners. Always review the official PyRunner repository and Coolify documentation before deploying to a production server.




Pingback: How to Self Host Postal SMTP Server: Easy Guide (2026)