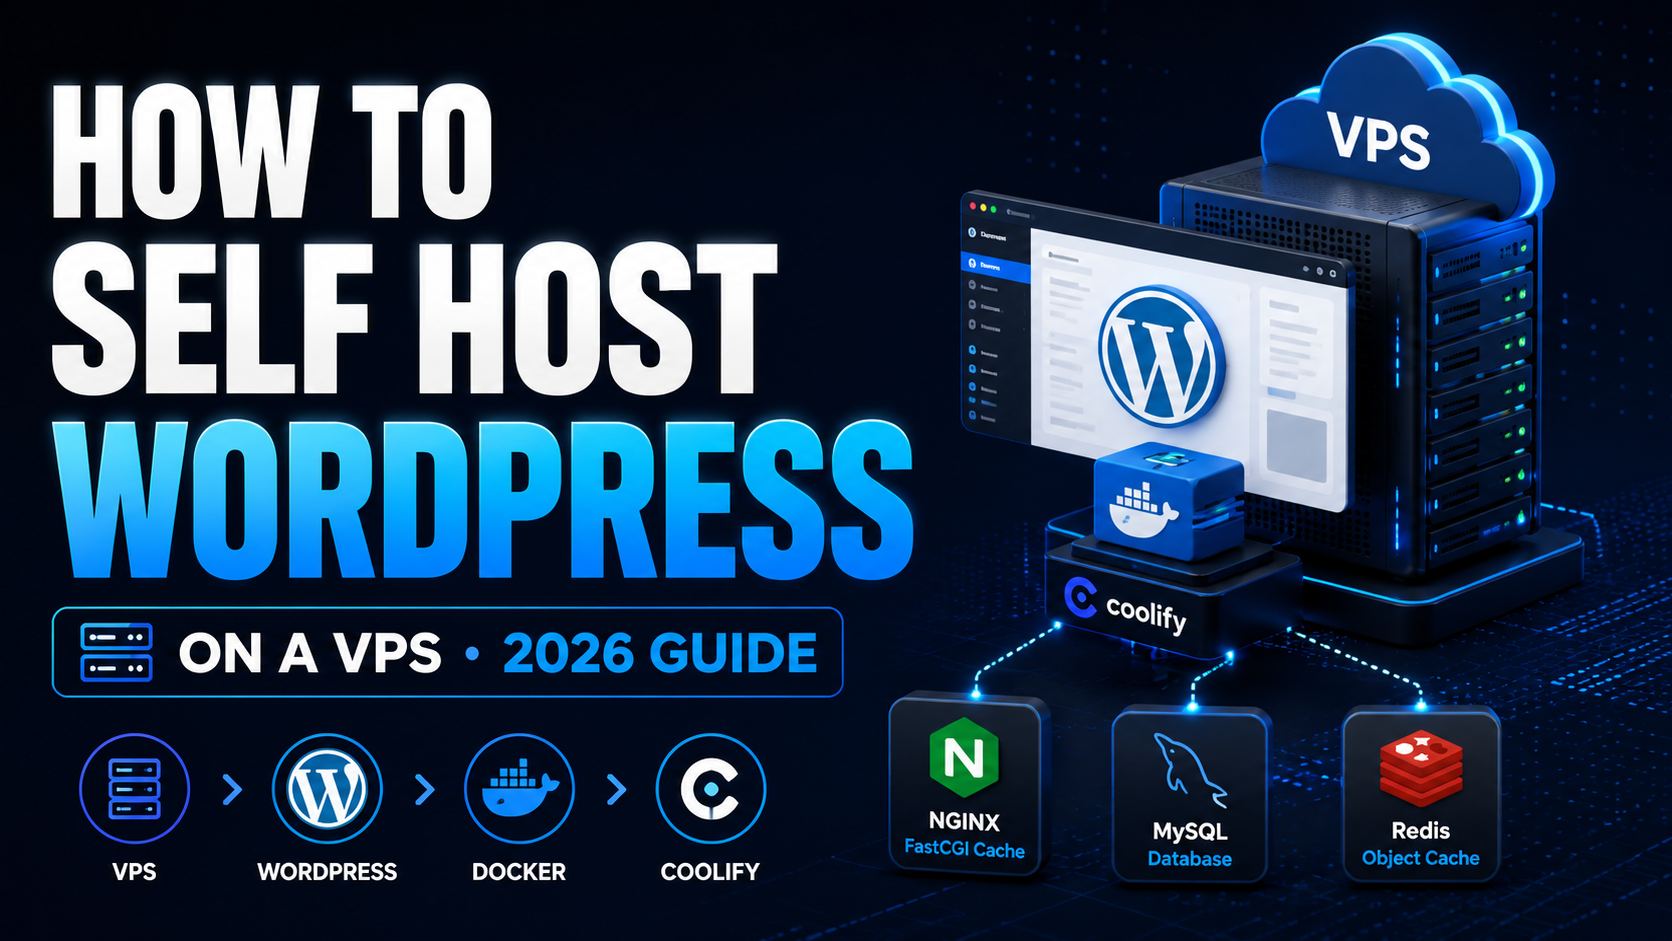
Self-Host WordPress on Your Own VPS: 3 Practical Deployment Tiers
A hands-on path from a straightforward Coolify WordPress install to a tuned Docker image and a high-performance nginx + FastCGI cache stack—without relying on traditional shared hosting.
Your WordPress. Your server. Your stack.
Start simple, then add only the pieces that solve a real limitation: upload limits, repeatable deployments, object caching, and anonymous page caching.
TL;DR
“Self-hosted WordPress” can mean more than buying shared hosting and clicking an installer. In this guide, WordPress runs on a VPS you control. We begin with Coolify’s standard Docker deployment, build a reusable tuned WordPress image, and then move to nginx, PHP-FPM, FastCGI page caching, and Redis for a more scalable architecture.
- WordPress on your own VPS with HTTPS
- Docker volumes for persistent files and database data
- Custom PHP upload and memory limits
- WP-CLI inside your WordPress image
- nginx FastCGI caching for anonymous pages
- Redis object cache for dynamic requests
⚙ Personalize the commands
Enter the domain you plan to use. Code examples marked with wp.example.com will update in your browser.
What “self-hosted WordPress” actually means
WordPress itself is open-source software. The important question is where it runs and who controls the infrastructure. On ordinary shared hosting, you manage WordPress but the host controls most of the server. On a VPS, you control the operating system, Docker services, storage, databases, networking, backups, and the deployment process.
That extra control is useful when you want several sites on one server, custom PHP settings, predictable costs, or a broader self-hosted stack that includes automation tools, analytics, databases, and internal services.
The tradeoff is equally important: when you own the box, server security, backups, monitoring, and upgrades become your responsibility. Coolify reduces the operational work by giving you a web interface for Docker deployments, domains, certificates, environment variables, and service management.
Template
Best for getting WordPress online quickly with the fewest moving parts.
Custom image
Best when you need reliable PHP limits, WP-CLI, and a reproducible runtime.
Cached stack
Best when anonymous traffic volume and response time justify extra complexity.
What you need before you start
You need a Linux VPS, a domain or subdomain, DNS access, and a way to deploy containers. This guide uses Ubuntu and Coolify because that combination is approachable, visual, and still gives you direct access to Docker when you need it.
A VPS
A small site can run on modest resources. For a comfortable one-site setup with Coolify, WordPress, and MySQL, 2 GB of RAM is a practical starting point; 4 GB provides more breathing room for backups, additional services, plugins, or traffic bursts.
A domain pointed to the server
Create an A record for the root domain or subdomain and point it to your VPS IPv4 address. DNS must resolve correctly before automated HTTPS issuance can succeed reliably.
Coolify installed
Use the current installation instructions from the official Coolify documentation. A typical installation begins with the official installer on a fresh supported Linux server.
curl -fsSL https://cdn.coollabs.io/coolify/install.sh | bashChoosing a VPS provider?
Use a provider with SSD/NVMe storage, reliable snapshots, a nearby region, and enough RAM for WordPress plus the management panel. If you have a VPS affiliate or referral program, replace the button URL below with your own tracked link.
Compare VPS Hosting Visit CoolifyTier 1: deploy WordPress with the Coolify template
The first tier keeps the architecture intentionally simple: WordPress runs in the official WordPress container, the database runs in a separate MySQL container, and persistent Docker volumes keep both the site files and database data outside the disposable container layer.
In Coolify, create a new resource and search the service catalog for WordPress. Pick the database combination you prefer.
What the template is doing under the hood
A simplified WordPress + MySQL Compose stack looks like this. Coolify may generate service variables and additional metadata, but the underlying relationship is easy to understand: WordPress connects to MySQL over Docker’s internal network, and both services persist important data in named volumes.
services:
  wordpress:
    image: wordpress:latest
    restart: unless-stopped
    environment:
      WORDPRESS_DB_HOST: mysql
      WORDPRESS_DB_NAME: wordpress
      WORDPRESS_DB_USER: wordpress
      WORDPRESS_DB_PASSWORD: CHANGE_THIS_PASSWORD
    volumes:
      - wordpress-files:/var/www/html
    depends_on:
      - mysql

  mysql:
    image: mysql:8
    restart: unless-stopped
    environment:
      MYSQL_DATABASE: wordpress
      MYSQL_USER: wordpress
      MYSQL_PASSWORD: CHANGE_THIS_PASSWORD
      MYSQL_ROOT_PASSWORD: CHANGE_THIS_ROOT_PASSWORD
    volumes:
      - mysql-data:/var/lib/mysql

volumes:
  wordpress-files:
  mysql-data:
Set your real domain before you send traffic
Open the WordPress application settings inside the service and assign your real HTTPS URL, such as https://wp.example.com. Once DNS points to the VPS, Coolify’s proxy can route requests to the WordPress container and obtain a TLS certificate.
A record
Certificate
Container
Your domain should resolve to the VPS before you expect automatic HTTPS to work consistently.
Check the defaults before you call the job finished
Containerized WordPress can be fully functional while still carrying conservative PHP settings. Those defaults are not necessarily “wrong”; they are generic. A plugin-heavy site, a large theme upload, an importer, or a backup migration can require more headroom.
| Setting | Common baseline | Why it matters |
|---|---|---|
upload_max_filesize | Often small | Large images, themes, and plugin ZIP files can fail to upload. |
post_max_size | Often small | Caps total request body size and should exceed or match upload needs. |
memory_limit | Conservative | Complex page builders, imports, image processing, and plugins may need more memory. |
max_execution_time | Short | Imports, backups, updates, or media work can time out. |
| WP-CLI | May not be available | Useful for scripted installs, maintenance, search/replace, plugin tasks, and automation. |
Tier 2: build your own WordPress image
The second tier is about repeatability. Instead of editing PHP settings manually after every deployment, put the changes inside an image build. A future redeploy then recreates the same runtime automatically.
Create a small Dockerfile
FROM wordpress:latest

COPY wp-tuning.ini /usr/local/etc/php/conf.d/zz-wp-tuning.ini

RUN curl -fsSL -o /usr/local/bin/wp \
    https://raw.githubusercontent.com/wp-cli/builds/gh-pages/phar/wp-cli.phar \
    && chmod +x /usr/local/bin/wp \
    && wp --info --allow-root
Add deliberate PHP headroom
memory_limit = 256M
upload_max_filesize = 64M
post_max_size = 64M
max_execution_time = 120
max_input_vars = 3000

opcache.memory_consumption = 192
opcache.interned_strings_buffer = 16
opcache.max_accelerated_files = 16000
opcache.revalidate_freq = 60
The important part is not the exact numbers. The important part is that the limits are stored with the image definition rather than depending on a one-off manual edit. The zz- prefix also helps ensure your custom file loads late in PHP’s configuration directory.
Store the image somewhere Coolify can pull it
A private container registry is one way to keep deployment images available even when local Docker cleanup runs. You can use a hosted registry or operate a registry service you control.
docker run -d \
  --restart=always \
  --name wp-registry \
  -p 127.0.0.1:5000:5000 \
  -v wp-registry-data:/var/lib/registry \
  registry:2

docker build -t 127.0.0.1:5000/my-wordpress:2026 .
docker push 127.0.0.1:5000/my-wordpress:2026
Now switch the WordPress service image from wordpress:latest to your own versioned image tag.
services:
  wordpress:
    image: 127.0.0.1:5000/my-wordpress:2026
    volumes:
      - wordpress-files:/var/www/html
Install WordPress with WP-CLI
Once WP-CLI is present, a repeatable install becomes much easier. Run commands as the same service user that owns the WordPress files so you do not accidentally create root-owned directories inside wp-content.
wp core install \
  --url=https://wp.example.com \
  --title="My WordPress Site" \
  --admin_user=siteadmin \
  --admin_password='CHANGE-THIS-NOW' \
  --admin_email='you@example.com' \
--skip-emailTier 3: nginx + PHP-FPM + FastCGI cache + Redis
Tier 3 changes the performance model. Instead of asking WordPress and PHP to rebuild the same public page on every anonymous request, nginx can serve a cached copy. PHP is still there for cache misses, logged-in sessions, administration, forms, searches, comments, cart activity, and other dynamic paths.
This tier uses four primary application services:
- nginx — receives app traffic and serves cached/static responses.
- WordPress PHP-FPM — executes WordPress when PHP is actually needed.
- MySQL — stores posts, options, users, plugin data, and metadata.
- Redis — reduces repeated database work on dynamic requests when configured with a compatible WordPress object-cache plugin.
HTTPS
FastCGI cache
WordPress
Data layer
A cache hit can be returned by nginx before the request reaches PHP. Dynamic requests continue through WordPress.
Build the FPM image
FROM wordpress:fpm

COPY wp-tuning.ini /usr/local/etc/php/conf.d/zz-wp-tuning.ini

RUN curl -fsSL -o /usr/local/bin/wp \
    https://raw.githubusercontent.com/wp-cli/builds/gh-pages/phar/wp-cli.phar \
    && chmod +x /usr/local/bin/wp \
    && wp --info --allow-root
Use nginx to cache public HTML
The following configuration is a starting point for a normal content site, not a universal production configuration. Stores, membership sites, localization plugins, personalized pages, and session-based applications need additional cache bypass rules.
fastcgi_cache_path /var/cache/nginx
  levels=1:2
  keys_zone=WORDPRESS:100m
  inactive=60m
  max_size=512m;

fastcgi_cache_key "$scheme$request_method$host$request_uri";

server {
  listen 80;
  server_name _;
  root /var/www/html;
  index index.php;
  client_max_body_size 64m;

  set $skip_cache 0;

  if ($request_method = POST) { set $skip_cache 1; }
  if ($query_string != "") { set $skip_cache 1; }

  if ($request_uri ~* "/wp-admin/|/wp-login.php|/xmlrpc.php|/feed/|sitemap") {
    set $skip_cache 1;
  }

  if ($http_cookie ~* "wordpress_logged_in|wp-postpass|comment_author") {
    set $skip_cache 1;
  }

  location / {
    try_files $uri $uri/ /index.php?$args;
  }

  location ~ \.php$ {
    try_files $uri =404;
    include fastcgi_params;
    fastcgi_pass wordpress:9000;
    fastcgi_param SCRIPT_FILENAME $document_root$fastcgi_script_name;

    fastcgi_cache WORDPRESS;
    fastcgi_cache_valid 200 301 302 60m;
    fastcgi_cache_bypass $skip_cache;
    fastcgi_no_cache $skip_cache;

    add_header X-FastCGI-Cache $upstream_cache_status;
  }

  location ~* \.(css|js|png|jpg|jpeg|gif|webp|ico|svg|woff2?)$ {
    expires 30d;
    add_header Cache-Control "public, immutable";
    try_files $uri =404;
  }
}$variable as $$variable. Test the rendered configuration before deploying.
Confirm that caching works
curl -I https://wp.example.com/ | grep -i x-fastcgi-cache
curl -I https://wp.example.com/ | grep -i x-fastcgi-cache
The first cacheable request normally produces a miss while nginx stores the response. A repeat request can return a hit. If every request remains a miss, check cookies, query strings, bypass rules, permissions, and whether the cache path persists long enough to be useful.
Add Redis for object caching
Redis does a different job. FastCGI cache stores final page responses; an object cache stores reusable WordPress data so dynamic requests can avoid repeating some database work.
wp plugin install redis-cache --activate
wp config set WP_REDIS_HOST redis
wp redis enableHow the three tiers compare
Do not treat someone else’s benchmark as a promise for your server. CPU model, region, database state, theme, plugins, PHP version, cache warmup, CDN use, concurrency, and benchmark method all change the result. The useful lesson is the shape of the performance change: configuration tuning removes limits, while full-page caching can remove repeated PHP work from cacheable traffic.
Illustrative throughput comparison
Normalized visual example — not claimed as a benchmark of your server.
| Tier | Complexity | Main benefit | Best fit |
|---|---|---|---|
| 1 — Template | Low | Fast deployment | Personal sites, experiments, low/moderate traffic |
| 2 — Custom image | Medium | Repeatable runtime + higher PHP limits + WP-CLI | Serious sites where operations matter |
| 3 — Cached stack | Higher | Serves cacheable public pages without repeated PHP rendering | Traffic-heavy content sites and technically managed stacks |
The practical decision is simple: Tier 1 solves “I need WordPress online.” Tier 2 solves “I want my WordPress runtime under versioned control.” Tier 3 solves “I am spending too much compute repeatedly rendering public pages.”
The security reality of self-hosting WordPress
WordPress is a large target because it is widely deployed and frequently extended with third-party plugins and themes. Self-hosting gives you control, but it also means you are responsible for both application security and the underlying server.
Keep the database private
WordPress can talk to MySQL across Docker’s internal network. There is generally no reason to publish the MySQL port to the public Internet for a normal single-server WordPress deployment. The same principle applies to Redis.
Protect WordPress itself
Use strong administrator credentials, two-factor authentication where possible, an appropriate login-rate-limiting strategy, and a minimal plugin set. If XML-RPC is not required by your workflow, evaluate whether you need it exposed. Also make sure file ownership and permissions are appropriate for the web-server user.
Keeping the stack updated—and recoverable
Containerized WordPress separates the application image from persistent state. That is useful, but only if you understand what must survive a container replacement.
Back up both sides of WordPress
- Database: posts, users, settings, WooCommerce data, plugin options, metadata, and many relationships live in MySQL.
- Files: uploads, themes, plugins, and sometimes generated assets live under
wp-contentor the broader WordPress volume.
Store backups outside the VPS—such as object storage or another server—and test a restore. A green “backup completed” message is not proof that a recovery works.
Version your custom images
Avoid a workflow where every deployment silently changes because an upstream latest tag moved. For controlled upgrades, pull the version you intend to use, build your custom image, tag it, push it to your registry, and deploy that explicit tag.
docker pull wordpress:latest
docker build -t 127.0.0.1:5000/my-wordpress:2026-08 .
docker push 127.0.0.1:5000/my-wordpress:2026-08
When you are ready to upgrade, change the image tag in Coolify and redeploy. If a release causes trouble, an explicit previous tag gives you a much cleaner rollback path than an untracked in-place modification.
Frequently asked questions
Is self-hosted WordPress free?
WordPress is free and open source, but your infrastructure is not necessarily free. You normally pay for the VPS, domain name, optional backups, email delivery, storage, monitoring, or a CDN depending on your setup.
Is a VPS better than managed WordPress hosting?
It depends on what you value. A VPS gives you more infrastructure control and can be economical when you run several sites or services. Managed hosting reduces operational responsibility and may include support, backups, staging, security tooling, and WordPress-specific optimization.
How much RAM should I allocate?
For a small WordPress + database deployment, 2 GB can be workable, but 4 GB is a more comfortable starting point when the server also runs Coolify and additional services. Heavy plugins, WooCommerce, high traffic, backups, image processing, or other containers can require more.
Do I need a custom WordPress Docker image?
No. Use the stock image until you need repeatable PHP configuration, additional extensions, WP-CLI, or other runtime changes. The custom image is mainly an operations and control improvement.
Does FastCGI caching work with logged-in users?
It should normally bypass logged-in sessions and other dynamic conditions. The exact bypass rules matter. For e-commerce, memberships, multilingual personalization, or user-specific content, configure and test cache rules carefully.
Can I use Cloudflare in front of this setup?
Yes. Cloudflare can provide DNS, CDN, TLS features, bot controls, and edge caching. Keep your origin configuration correct and avoid creating conflicting cache rules between Cloudflare, nginx, and WordPress plugins.
What happens if the VPS fails?
If your backups are off-server and tested, you can rebuild the infrastructure and restore WordPress. If your only copy of the files and database is on the failed VPS, self-hosting can become an expensive lesson.
Where to go next
Once your WordPress stack is stable, the next improvements should be driven by evidence. Measure your real TTFB, cache hit ratio, CPU, RAM, disk I/O, database behavior, PHP workers, and uptime before adding more layers.
Build your own self-hosted WordPress stack
Start with the simplest tier that meets your needs. When a real bottleneck appears, upgrade the architecture deliberately instead of stacking random optimization plugins.
Start with the requirements Jump to the cached stack