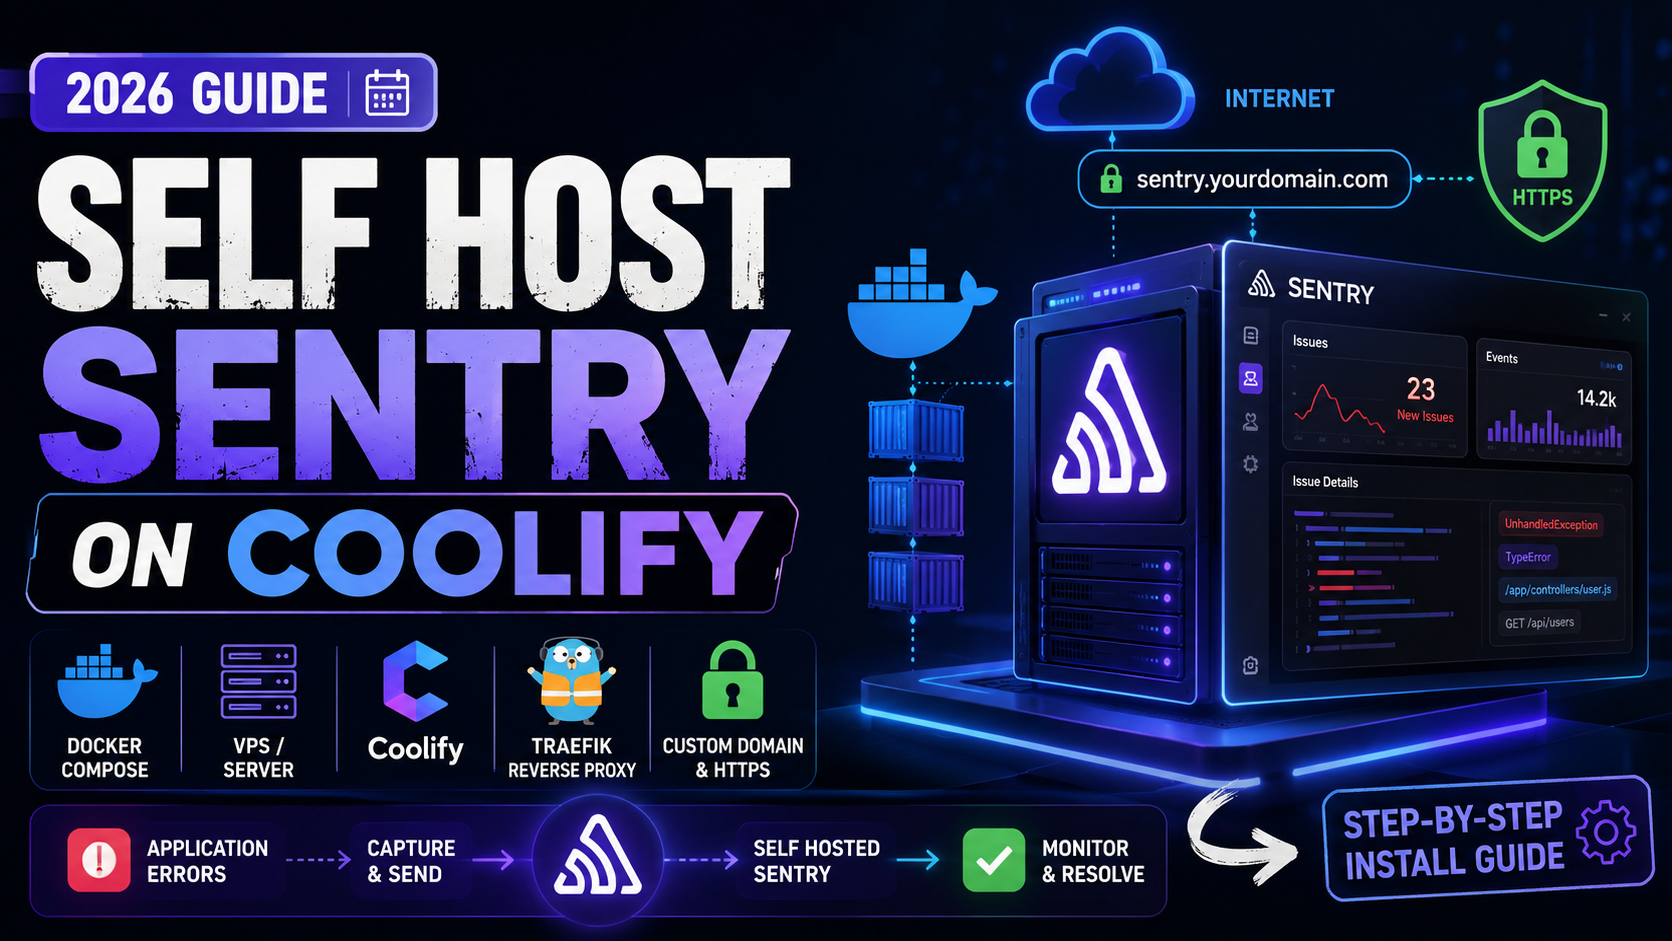
How to Self Host Sentry on Coolify: Complete 2026 Guide
If you want to self host Sentry, this guide walks you through the complete process. First, you will learn how to prepare a server. Then, you will install Sentry with Docker, connect a domain, configure HTTPS, test error tracking, set up backups, and troubleshoot common problems.
You can self host Sentry by using the official Sentry self-hosted project with Docker and Docker Compose. However, Sentry is more demanding than a normal single-container application. Therefore, you should prepare enough CPU, RAM, disk space, and swap before installation.
In addition, Coolify can remain part of your infrastructure. For example, you can use it alongside your reverse proxy setup while Sentry runs through its official Docker Compose configuration.
What Is Self-Hosted Sentry?
Understanding Sentry Error Monitoring
Sentry is an application monitoring platform that helps developers find errors in websites, applications, APIs, and software projects. Instead of waiting for a customer to report a problem, Sentry can automatically capture an exception when it happens.
For example, Sentry can record error messages, stack traces, application releases, environment data, breadcrumbs, request details, and other useful diagnostic information. As a result, developers can identify the source of a problem much faster.
What Self-Hosting Changes
Sentry offers a hosted cloud service. However, developers can also run a self-hosted version on their own infrastructure. Therefore, you can keep more control over where your monitoring data is stored.
In addition, a self-hosted deployment allows you to use your own domain, server environment, firewall rules, backup process, and retention strategy.
Why Self Host Sentry?
More Control Over Your Data
One major reason to self host Sentry is data control. For example, some companies prefer to keep monitoring events inside infrastructure they manage.
In addition, organizations with privacy or compliance requirements may want greater control over application logs and error information.
Potential Infrastructure Cost Control
Another reason is cost management. If an application generates a large number of monitoring events, running your own server may provide a more predictable infrastructure cost.
However, self-hosting is not automatically cheaper. You still need to pay for the server, backups, storage, email delivery, and maintenance.
When Sentry Cloud May Be Better
On the other hand, small projects may benefit more from Sentry Cloud. The hosted service removes most infrastructure management.
Therefore, if you only need basic monitoring and do not want to manage Docker, databases, upgrades, and backups, the cloud service can be easier.
| Situation | Recommended Option |
|---|---|
| Small personal website | Sentry Cloud |
| Privacy-sensitive application | Self-hosted Sentry |
| High event volume | Compare cloud and self-hosting costs |
| Need full Sentry ecosystem | Sentry Cloud or self-hosted Sentry |
| Basic error tracking only | Consider a lighter alternative |
| Want to learn Docker and DevOps | Self-hosting is a useful project |
Choose a VPS for Self-Hosted Sentry
Before you self host Sentry, choose a VPS with enough memory and CPU. In particular, avoid extremely small entry-level servers because Sentry runs several services at the same time.
View Recommended VPS → Official Sentry DocumentationAffiliate disclosure: This page may contain affiliate links. If you purchase through one of those links, I may earn a commission at no extra cost to you.
Self Host Sentry: Server Requirements
Recommended Hardware
Server resources are one of the most important parts of a successful Sentry installation. In particular, insufficient RAM can cause containers to restart or stop unexpectedly.
Therefore, do not try to run the complete Sentry stack on a tiny VPS if you expect reliable production performance.
| Resource | Recommended Starting Point | Why It Matters |
|---|---|---|
| CPU | 4 cores | Multiple background processes can run at the same time. |
| RAM | 16 GB | Several Sentry services can use memory simultaneously. |
| Storage | 20 GB minimum, preferably more | Docker images, databases, logs, and events consume disk space. |
| Swap | Recommended | Swap can help during temporary memory pressure. |
| Operating system | Modern Linux distribution | Ubuntu is a straightforward choice for many users. |
Why More Storage Can Be Useful
Although 20 GB provides a starting point, production monitoring data can grow quickly. For example, high event volume and longer retention periods can consume considerably more disk space.
As a result, you should monitor storage regularly and choose a VPS that can be upgraded later.
How the Self-Hosted Sentry Architecture Works
Public Traffic Flow
Your Sentry installation does not need to expose every container to the internet. Instead, external traffic should reach the public Sentry endpoint through a reverse proxy.
Internal Services Stay Private
Meanwhile, services such as databases, queues, and background workers should remain inside Docker networks. Therefore, they do not need public-facing ports.
As a result, the reverse proxy becomes the main public entry point while internal services remain protected.
Prepare Your Linux Server
Connect Through SSH
First, start with a clean Linux server. Ubuntu is a common option because it has extensive Docker documentation and broad hosting support.
Next, connect to the server through SSH:
ssh root@YOUR_SERVER_IPUpdate the Operating System
Before installing Sentry, update the server packages. This step helps ensure that important security fixes are installed.
apt update
apt upgrade -y
Create Swap Space
Next, create a swap file. Although swap is not a replacement for real RAM, it can help protect the server during temporary memory spikes.
fallocate -l 16G /swapfile
chmod 600 /swapfile
mkswap /swapfile
swapon /swapfile
echo '/swapfile none swap sw 0 0' >> /etc/fstab
Finally, verify the available RAM and swap:
free -hConfigure DNS for Sentry
Create a Sentry Subdomain
Next, create a subdomain for the monitoring dashboard. For example, you could use:
sentry.example.comAdd the DNS Record
Then, open your DNS provider and create an A record that points the subdomain toward your VPS IP address.
| Type | Name | Value |
|---|---|---|
| A | sentry | YOUR_SERVER_IP |
Verify DNS Propagation
Afterward, check whether the domain resolves correctly:
dig sentry.example.com +shortIf the command returns your server IP address, the DNS record is working.
Install Self-Hosted Sentry
Clone the Official Repository
Now you can install Sentry. Importantly, use the official self-hosted repository instead of assembling unrelated containers manually.
git clone https://github.com/getsentry/self-hosted.git
cd self-hosted
Select a Stable Release
For production use, it is generally safer to use a stable release rather than automatically running the newest development code.
Therefore, fetch the release tags:
git fetch --tags
Then replace VERSION with the stable release you want to install:
git checkout VERSIONRun the Official Installer
Next, launch Sentry’s installation script:
sudo ./install.shThe script prepares the environment and initializes the required services. Therefore, allow the process to finish before starting the stack.
Start the Sentry Docker Stack
Launch the Containers
Once the installer completes successfully, start the Docker Compose stack:
docker compose up -dCheck Container Status
Next, verify that the required services are running:
docker compose psYou will see several containers instead of one. That is expected because Sentry uses multiple supporting services.
In addition, you can inspect all active Docker containers:
docker psTest the Local Web Interface
Next, verify that the local Sentry web interface responds:
curl -I http://127.0.0.1:9000If you receive an HTTP response, the front-end service is available locally.
Configure a Reverse Proxy and HTTPS
Why Use a Reverse Proxy?
A reverse proxy gives visitors a secure HTTPS connection while forwarding requests internally to Sentry.
Therefore, users can access:
https://sentry.example.comMeanwhile, Sentry can continue to listen internally on its normal web port.
Set the Public Sentry URL
Next, open the Sentry configuration file:
nano sentry/config.ymlThen configure the public URL:
system.url-prefix: 'https://sentry.example.com'Connect Coolify or Traefik
If you already use Coolify, you can integrate Sentry with the reverse-proxy infrastructure on your server. However, the exact steps depend on your Coolify and Traefik setup.
The important goal is simple. Your public hostname should forward HTTPS traffic to the Sentry web endpoint.
Verify HTTPS
Finally, test the domain:
curl -I https://sentry.example.comCreate Your Sentry Administrator Account
Create the User
If the installation did not already create your administrator account, create one manually:
docker compose exec web sentry createuserNext, follow the prompts and enter the email address and password you want to use.
Open the Dashboard
Afterward, visit your Sentry domain:
https://sentry.example.comThen log in and complete the initial configuration.
Configure Email Alerts
Why Email Alerts Matter
Sentry is more useful when important errors reach you automatically. Therefore, configuring email alerts should be part of the initial setup.
For example, you can connect an SMTP service such as Amazon SES, Postmark, Mailgun, Brevo, SendGrid, or another provider.
Add SMTP Settings
Your exact settings depend on your provider. However, a basic configuration may look similar to this:
mail.backend: 'smtp'
mail.host: 'smtp.example.com'
mail.port: 587
mail.username: 'YOUR_USERNAME'
mail.password: 'YOUR_PASSWORD'
mail.use-tls: true
mail.use-ssl: falseRestart the Web Service
After changing the configuration, restart the necessary service:
docker compose restart webCreate Your First Sentry Project
Select Your Application Platform
Now you can connect a real application. First, create a new project from your Sentry dashboard.
Next, choose the language or framework that matches your application.
Copy the Project DSN
After creating the project, Sentry gives you a DSN. In simple terms, the DSN tells your application where monitoring events should be sent.
Therefore, copy the DSN and add it to the Sentry SDK configuration inside your application.
Send a Test Error to Sentry
Install an SDK
A working dashboard does not prove that application error reporting works. Therefore, send a real test event.
For example, a Python application can install the Sentry SDK:
pip install sentry-sdkCreate a Deliberate Error
Next, create a small test script:
import sentry_sdk

sentry_sdk.init(
    dsn="YOUR_SENTRY_DSN",
    environment="production"
)

def calculate_price(total, customers):
    return total / customers

calculate_price(100, 0)
This example deliberately creates a division-by-zero error.
Confirm the Event Appears
After running the script, open the Sentry dashboard and inspect the project. If the issue appears, the complete event path is working.
- Your application generates an error.
- The Sentry SDK sends the event.
- Your server receives the event.
- The issue appears in the Sentry dashboard.
- Your alert reaches the configured destination.
Self-Hosted Sentry Security Checklist
Protect Public Access
Once you self host Sentry, security becomes your responsibility. Therefore, you should protect both the dashboard and the server.
- Use HTTPS for the Sentry dashboard.
- Keep port 9000 private behind the reverse proxy.
- Do not expose Redis publicly.
- Do not expose PostgreSQL publicly.
- Do not expose Kafka publicly.
- Do not expose ClickHouse publicly.
Protect the Server
In addition, use strong administrator passwords and SSH keys. Furthermore, keep the operating system and Docker packages updated.
- Use SSH keys whenever possible.
- Configure firewall rules.
- Protect SMTP and API credentials.
- Back up important data.
- Review software updates regularly.
- Check Sentry release notes before upgrades.
How to Back Up Self-Hosted Sentry
Back Up Configuration Files
First, save copies of your Sentry configuration files, environment settings, custom proxy configuration, and Docker Compose overrides.
As a result, rebuilding the server becomes easier if the original machine fails.
Back Up PostgreSQL
Next, create backups of PostgreSQL because important Sentry application data depends on the database.
mkdir -p /root/backups

docker compose exec -T postgres \
pg_dumpall -U postgres | gzip \
> /root/backups/sentry-postgres-$(date +%F).sql.gz
Consider Other Persistent Data
However, PostgreSQL is not the only component that may contain important data. If long-term event history matters to your organization, your backup strategy should also account for other persistent Docker volumes and data stores.
Test Your Backups
Most importantly, test the restore process. A backup may exist but still be unusable.
How to Upgrade Self-Hosted Sentry
Back Up Before Updating
Before upgrading Sentry, create fresh backups. In addition, check available disk space and confirm that the server has enough resources for the upgrade.
Read the Release Notes
Next, read the upgrade notes for the version you plan to install. Sentry may introduce changes that require additional migration steps.
Switch to the New Version
Afterward, move to the new release. A typical update workflow may look like this:
cd /root/self-hosted

git fetch --tags

git checkout NEW_VERSION

sudo ./install.sh

docker compose up -d
Test the Installation Again
Finally, inspect container logs and send another test error. Therefore, you can confirm that monitoring still works after the upgrade.
How Much Does It Cost to Self Host Sentry?
Server Costs
The first expense is your VPS. Because Sentry needs significant resources, the server may cost more than a lightweight WordPress or Docker VPS.
Storage and Backup Costs
In addition, monitoring data can increase disk usage. Therefore, you may also need larger storage volumes or remote backup storage.
| Expense | What to Expect |
|---|---|
| VPS | A server large enough for the complete Sentry stack. |
| Storage | Storage requirements increase with event volume and retention. |
| Backups | Preferably stored outside the main server. |
| SMTP services may charge based on usage. | |
| Maintenance | Time required for monitoring, upgrades, security, and troubleshooting. |
Is Self-Hosting Really Free?
Although the software can be self-hosted, infrastructure still costs money. Therefore, the correct comparison is not simply free software versus paid software. Instead, you should compare the complete cost of operating both options.
For example, calculate the cost of the server, backups, storage, email delivery, and your own maintenance time. Then compare that total with the convenience of Sentry Cloud.
Need a VPS to Self Host Sentry?
Choose a server with enough resources for Docker, Sentry, and its supporting services. In particular, avoid starting with a 1 GB or 2 GB VPS for the full Sentry stack.
Check VPS Pricing →Best Self-Hosted Sentry Alternatives
GlitchTip
GlitchTip is an open-source monitoring platform that supports Sentry-compatible SDKs. Therefore, it may be attractive if you want simpler self-hosted error tracking.
Bugsink
Bugsink focuses on self-hosted error monitoring. As a result, it may provide a lighter operational footprint for developers who do not need the full Sentry platform.
Sentry Cloud
Sentry Cloud is the simplest option if you want Sentry without infrastructure management. In addition, you do not need to maintain databases, containers, backups, or upgrade procedures.
Sentry vs. Alternatives
| Platform | Best For | Infrastructure Work |
|---|---|---|
| Sentry Cloud | Teams that want the easiest setup. | Low |
| Self-Hosted Sentry | Control, privacy, and full Sentry features. | High |
| GlitchTip | Smaller self-hosted deployments. | Moderate |
| Bugsink | Focused self-hosted error monitoring. | Moderate |
Common Self-Hosted Sentry Problems
The Installation Gets Killed
If the installer suddenly stops, first check RAM, swap, and available disk space.
free -h
df -h
docker system df
If memory is exhausted, increase server resources or swap before trying again.
A Container Keeps Restarting
Next, inspect the container logs:
docker compose ps
docker compose logs --tail=200 SERVICE_NAME
The logs often reveal missing configuration, resource problems, or database connectivity errors.
Sentry Shows a 502 Bad Gateway
A 502 error usually means the reverse proxy cannot reach the Sentry web endpoint. Therefore, verify that the container is running and that your proxy uses the correct port.
HTTPS Works but Links Use HTTP
If Sentry generates HTTP links even though your site uses HTTPS, verify system.url-prefix.
In addition, confirm that your reverse proxy forwards the appropriate HTTPS headers.
Application Errors Do Not Appear
If your test error does not reach the dashboard, first verify the basic configuration. Then check the following items:
- Confirm the DSN is correct.
- Confirm your application can resolve the Sentry domain.
- Verify HTTPS from the application server.
- Check whether the Sentry project is active.
- Check Sentry ingestion services.
- Confirm the SDK initializes successfully.
Disk Space Keeps Growing
Monitoring platforms can consume significant storage. Therefore, inspect Docker storage and filesystem usage regularly.
df -h
docker system df
du -sh /var/lib/docker/* 2>/dev/null | sort -h
If storage grows too quickly, review event retention and monitoring volume. In addition, consider increasing available disk space before the server becomes full.
Should You Self Host Sentry in 2026?
When Self-Hosting Is Worth It
Overall, self-hosting Sentry can be a strong choice when you need more control over monitoring data, infrastructure, privacy, or costs.
In addition, it is a valuable project if you want to learn how a real multi-service Docker application works. For example, you will gain experience with containers, reverse proxies, databases, backups, DNS, and server security.
Understand the Maintenance Requirement
However, self-hosted Sentry is not a simple application that you install once and forget. Instead, it includes databases, background workers, queues, and several supporting services.
Therefore, you need to plan for updates, backups, server monitoring, security, and storage management. Furthermore, you should regularly check resource usage so the server does not unexpectedly run out of memory or disk space.
Choose the Right Monitoring Platform
If your application only needs basic exception alerts, a lighter solution may be easier. On the other hand, if you need the complete Sentry ecosystem and want greater infrastructure control, self-hosting can make sense.
Ultimately, the best option depends on your application. For example, a small website may be perfectly served by Sentry Cloud. In contrast, a larger application may benefit from controlling its own monitoring infrastructure.
Frequently Asked Questions About Self-Hosted Sentry
Self-Hosted Sentry Installation Questions
Can I self host Sentry?
Yes. Sentry provides an official self-hosted project that uses Docker and Docker Compose. Therefore, you can operate Sentry on infrastructure you control.
Can I self host Sentry on Coolify?
Yes, Sentry can operate on infrastructure alongside Coolify. However, the complete Sentry stack is more complex than a standard one-click application. Therefore, using Sentry’s official installation workflow is usually the safer approach.
Does Sentry require Docker?
Yes. The official self-hosted deployment uses Docker and Docker Compose. As a result, Docker handles the different services that make up the complete Sentry platform.
Do I need a domain to self host Sentry?
A domain is not required for local testing. However, a production installation should normally use a custom domain with HTTPS. In addition, a domain makes the Sentry dashboard easier to access and secure.
Self-Hosted Sentry Server Questions
How much RAM does self-hosted Sentry need?
Sentry requires more resources than a basic Docker application. Therefore, a practical starting point is around 4 CPU cores and 16 GB of RAM. However, actual requirements depend on your event volume, retention settings, and enabled features.
Which port does self-hosted Sentry use?
The standard self-hosted Sentry web interface commonly uses port 9000. However, a production installation should place that endpoint behind an HTTPS reverse proxy whenever possible.
Can I run Sentry on a 2 GB VPS?
A full Sentry deployment is not a good fit for a 2 GB VPS. Instead, choose a larger server. Alternatively, consider a lighter error-monitoring platform if your application has modest requirements.
Should Sentry port 9000 be public?
Generally, no. If you use an HTTPS reverse proxy, you can keep the internal Sentry endpoint private. Therefore, only your secure public domain needs to accept normal web traffic.
Sentry Configuration and Monitoring Questions
What is a Sentry DSN?
A Sentry DSN tells your application’s Sentry SDK where monitoring events should be sent. In addition, it identifies the Sentry project that receives those events.
Can Sentry monitor Python and JavaScript applications?
Yes. Sentry supports many programming languages and frameworks. For example, you can connect Python, JavaScript, Node.js, React, PHP, and many other applications by installing the appropriate SDK.
Why are my errors not appearing in Sentry?
First, verify that your DSN is correct. Next, confirm that the Sentry SDK starts correctly inside your application. In addition, check your HTTPS connection and Sentry ingestion services.
Sentry Cost and Alternative Questions
Is self-hosted Sentry free?
You can run the software on your own infrastructure. However, self-hosting still creates expenses. For example, you may pay for the VPS, storage, backups, email delivery, and server administration.
Is Sentry better than GlitchTip?
It depends on your needs. Sentry provides a broader monitoring ecosystem. However, GlitchTip may be easier to operate when you mainly need basic self-hosted error tracking. Therefore, smaller projects may prefer the lighter option.
Should I use Sentry Cloud instead?
Sentry Cloud can be a better option when you do not want to manage infrastructure. In contrast, self-hosted Sentry gives you greater control over the server and monitoring data. Therefore, your choice depends on whether convenience or infrastructure control matters more.
Sentry Maintenance Questions
How do I upgrade self-hosted Sentry?
First, create a fresh backup. Next, read the release notes for the version you want to install. Then, follow the official upgrade process. Finally, send a test error to confirm that monitoring still works.
How often should I back up Sentry?
Ideally, create automated backups based on how important your monitoring data is. For example, a production deployment may need daily backups. In addition, store at least one backup outside the main Sentry server.
Should I test Sentry after an update?
Yes. After every major update, send a test event from an application. As a result, you can confirm that the SDK, reverse proxy, ingestion services, database, and dashboard still work together.
Start Your Self-Hosted Sentry Server
If you are ready to self host Sentry, choose a VPS with enough CPU, memory, and storage for Docker and the complete Sentry stack.
Get a VPS → View Sentry Self-Hosted →